Pioneer Concepts LLC
ProfessiSonal Hardwood Flooring Services in Greenville, SC & Surrounding Areas
Transform Your Home with Expert Hardwood Installation, Refinishing, and Maintenance.
Schedule Online
THE TRUSTED FLOORING INSTALLATION SERVICE IN Greenville and surrounding areas
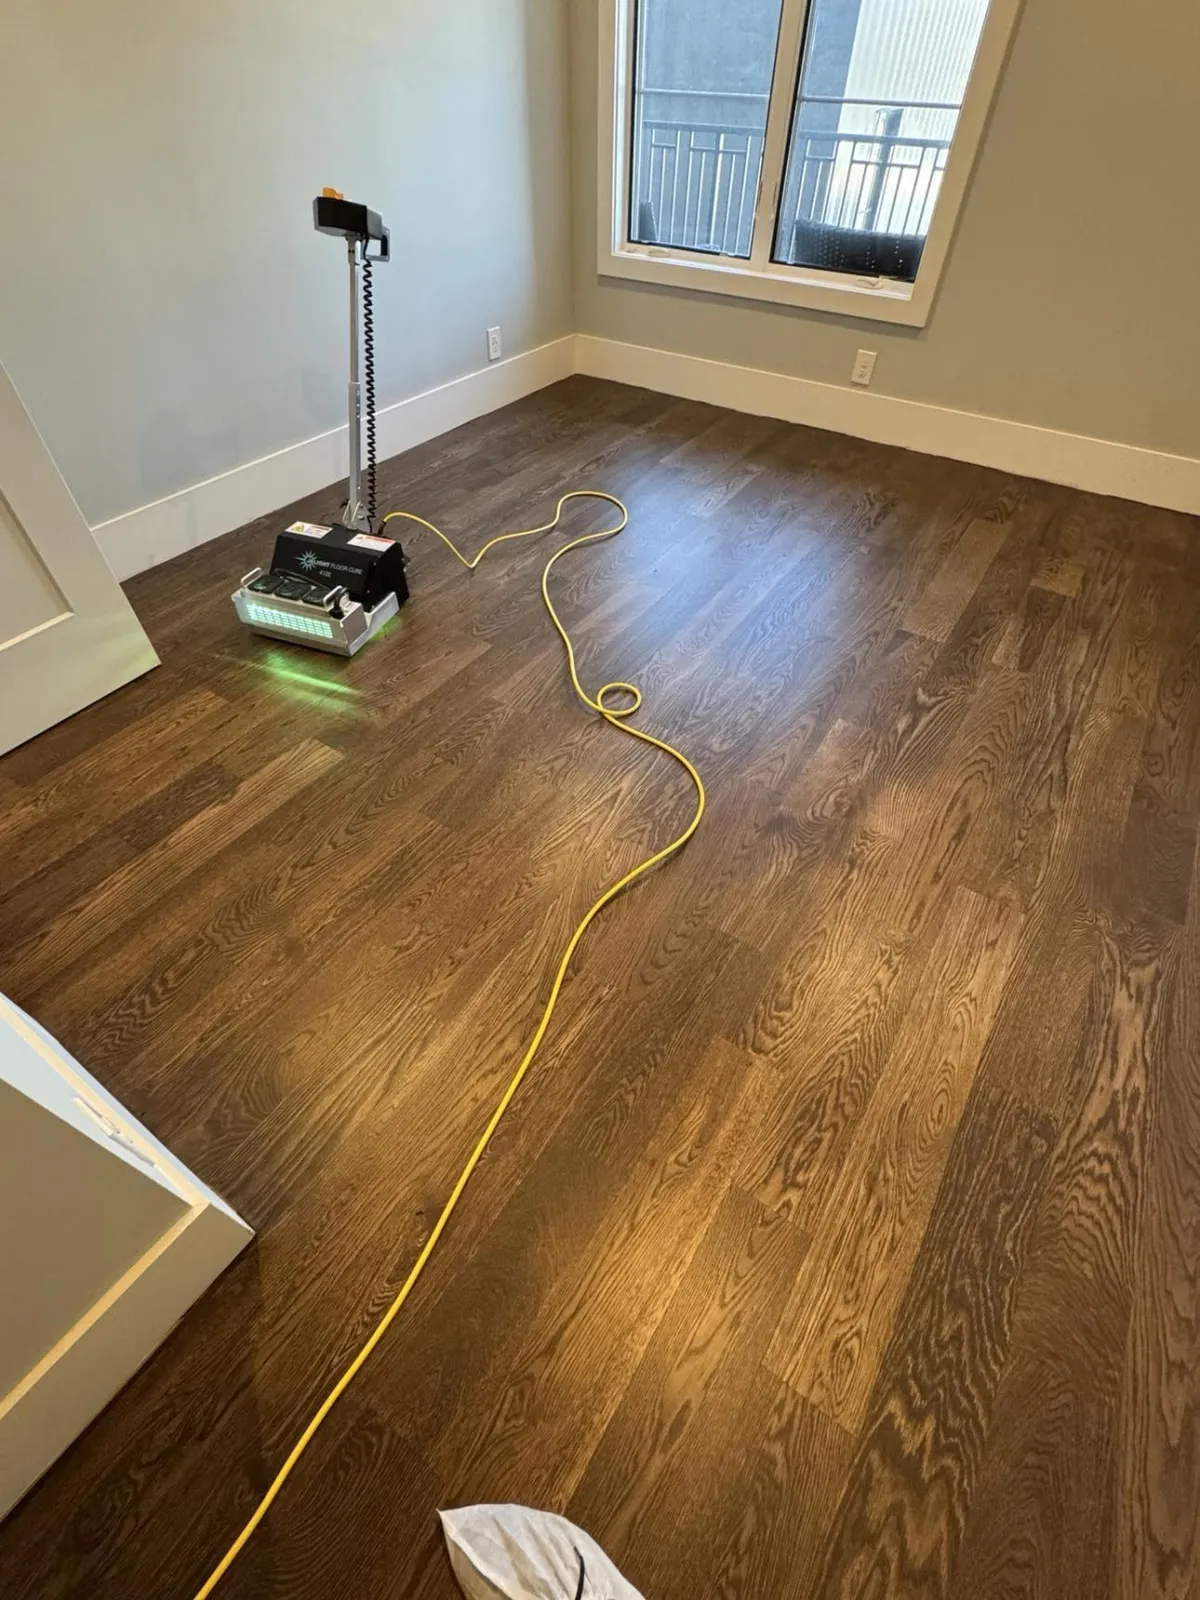
At Pioneer Concepts LLC, we specialize in hardwood floor installation, refinishing, and maintenance, helping homeowners in Greenville, SC, and nearby areas bring elegance and durability to their spaces. With over 15 years of experience and cutting-edge techniques, we’re the trusted choice for dust-free sanding, luxury vinyl plank installation, and UV-cured finishing.
Whether you’re restoring your floors’ natural beauty or installing brand-new hardwood, our team ensures exceptional results tailored to your needs.
Commercial & RESIDENTAL flooring installation Services Available
Services
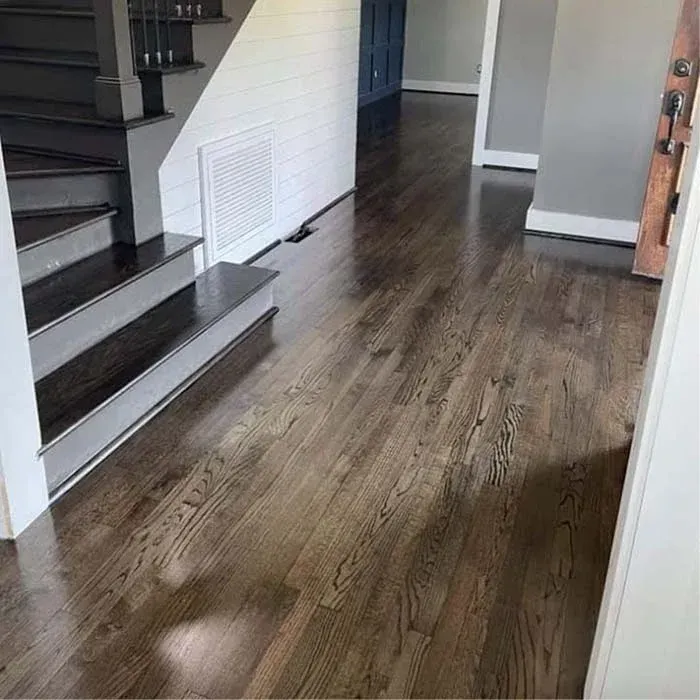
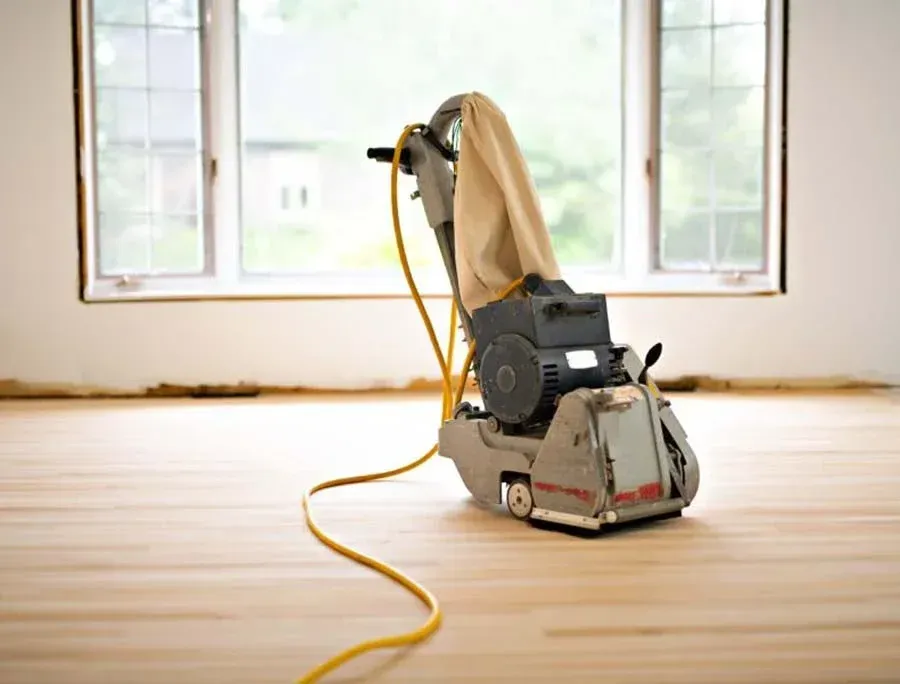
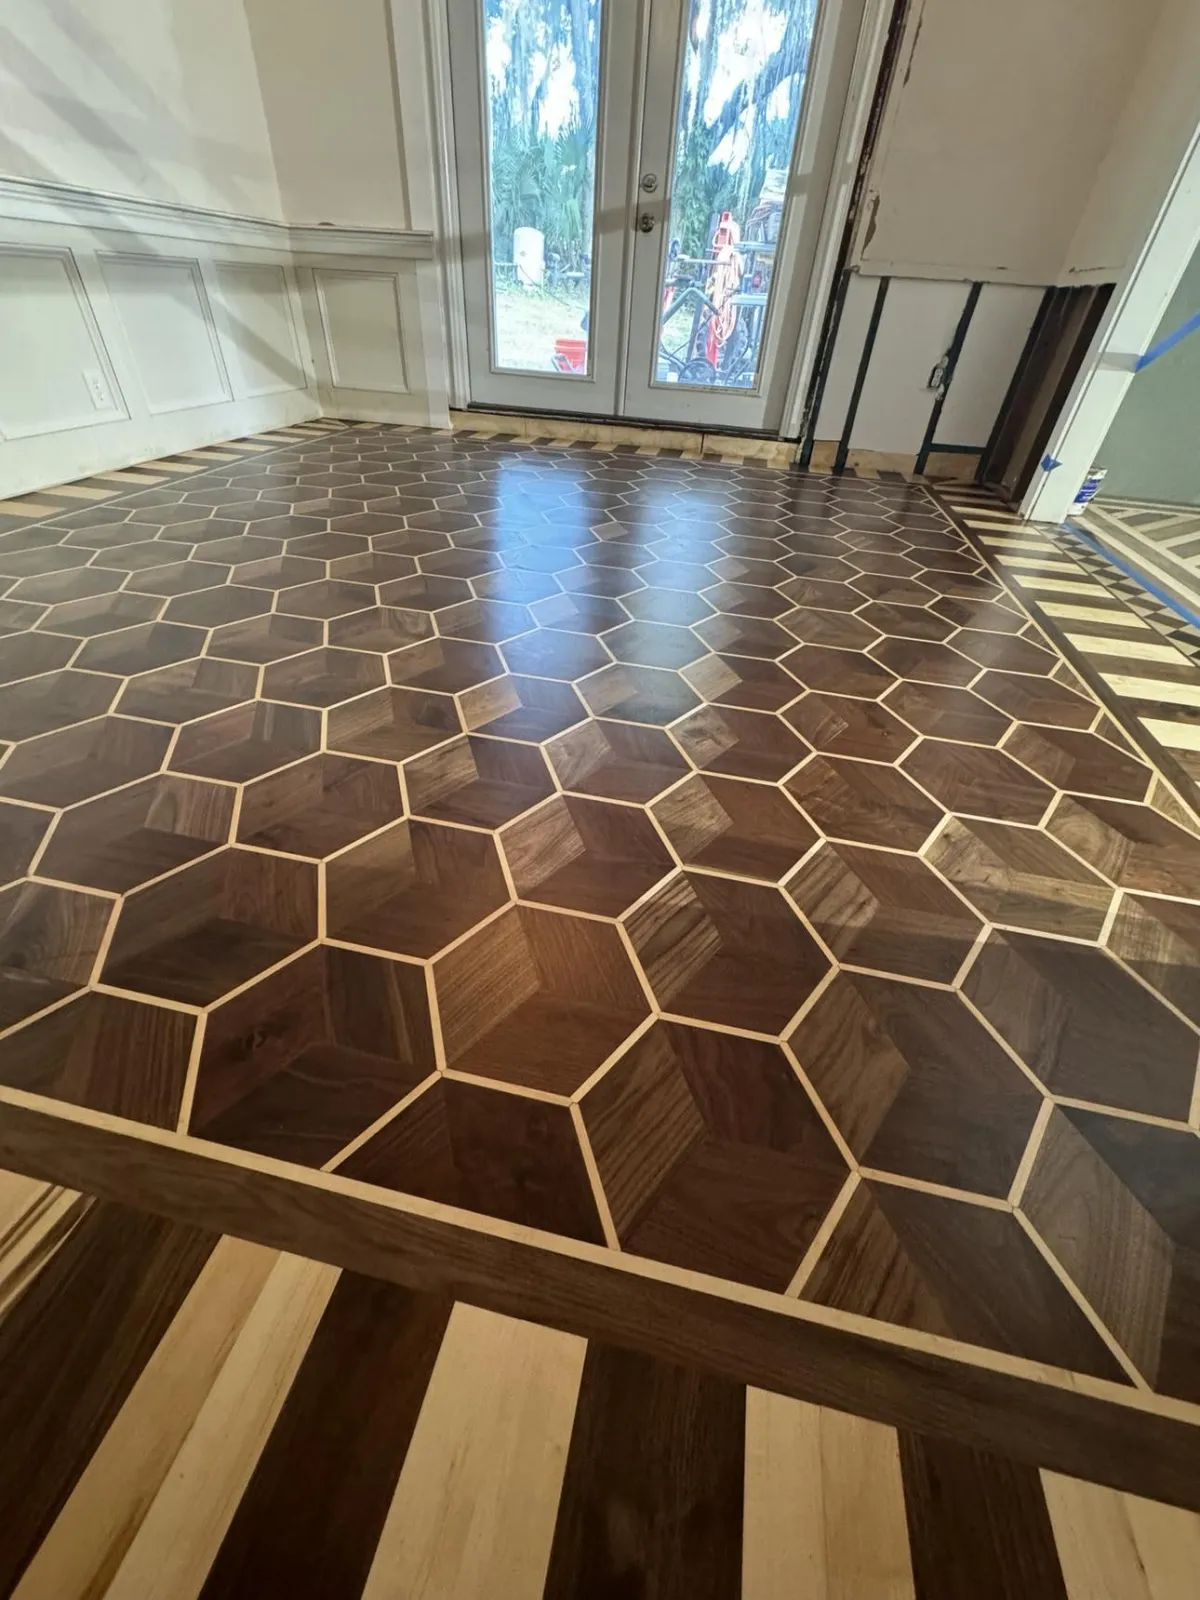
Revitalize your home with expertly installed hardwood floors.
We provide precision installation and sanding services to ensure flawless, long-lasting floors. With industry-leading dust containment systems, you’ll enjoy a mess-free experience and stunning results.
👉 Perfect for: Living rooms, kitchens, and staircases.
Keep your floors looking brand new.
From buffing and coating to minor repairs, we provide comprehensive maintenance services that protect your investment and enhance your home’s appeal.
👉 Quick and affordable solutions for everyday wear and tear.
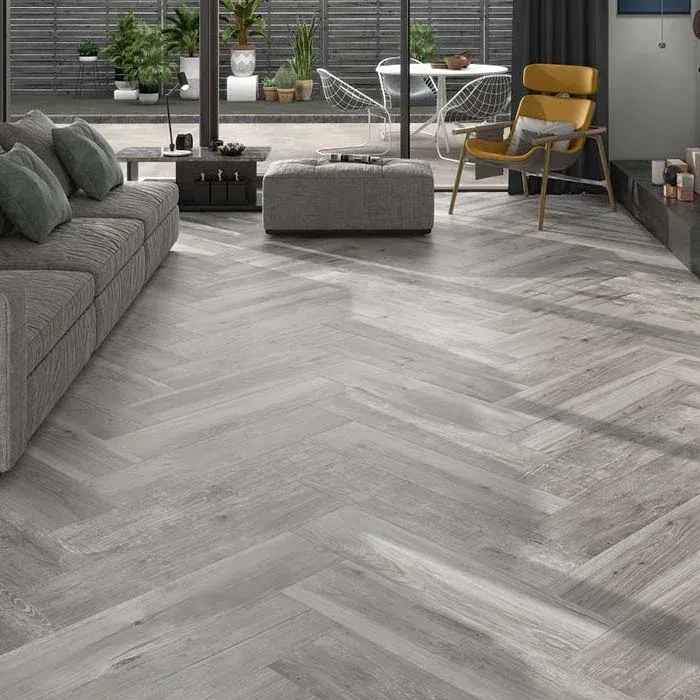
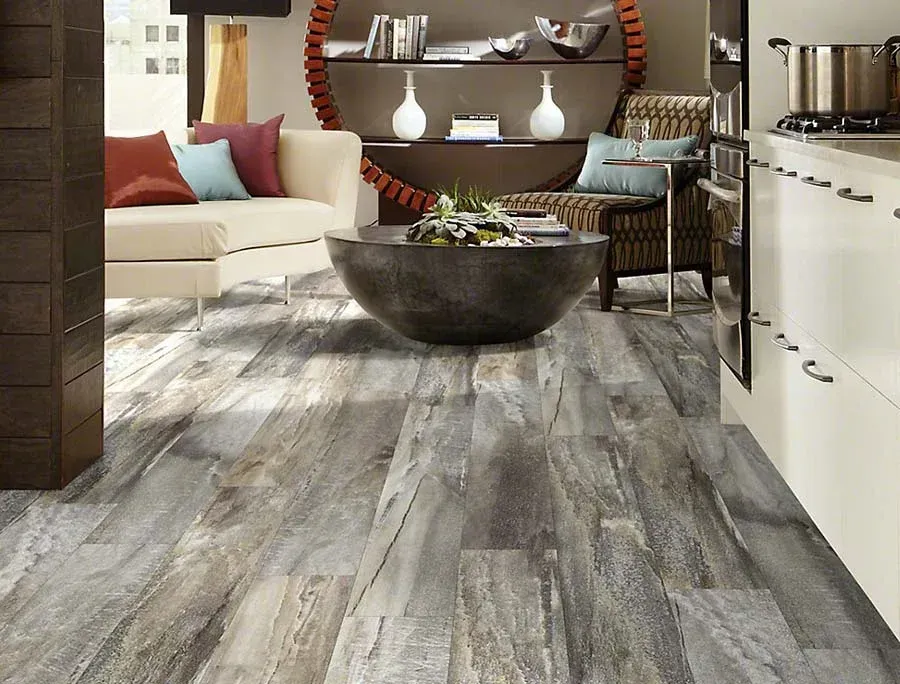
Stylish, durable, and budget-friendly flooring solutions.
We install high-quality LVP that mimics the look of hardwood or tile, offering a water-resistant and easy-to-maintain alternative for any room.
Durable, eco-friendly protection for your floors.
Our advanced UV-cured finishing dries instantly, offering superior durability and a stunning finish that lasts for years.
👉 Ideal for homes with heavy foot traffic or pets.
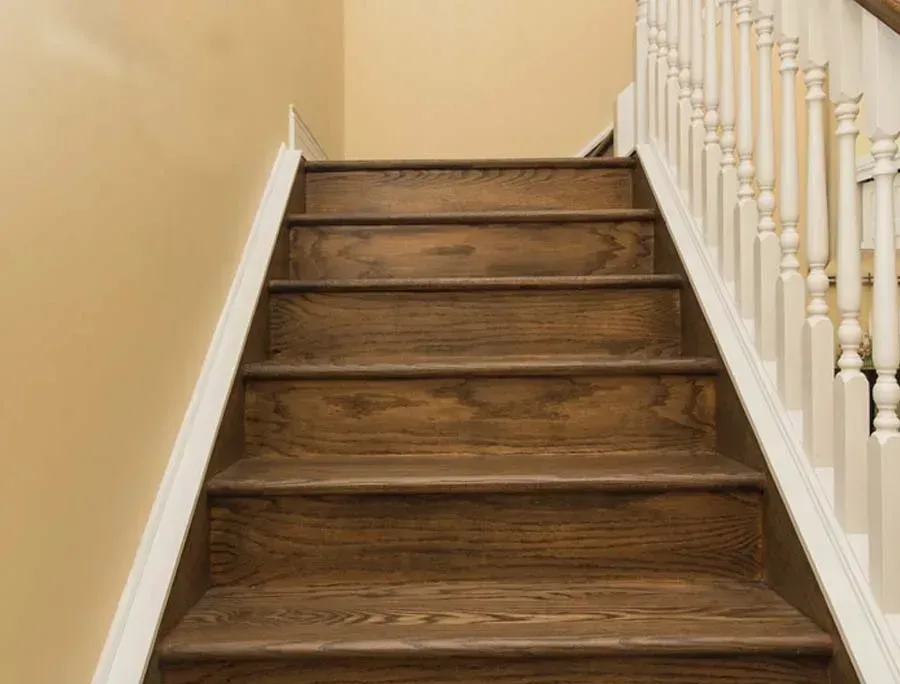
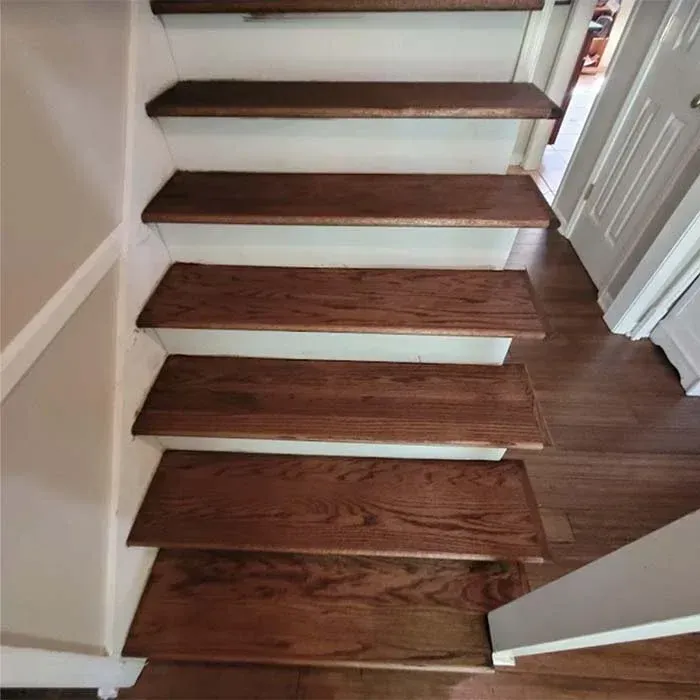
Add elegance and functionality to your staircase.
Our team specializes in custom stair installation and refinishing, creating a centerpiece for your home that combines safety with style.
Refresh your floors with our buff and coat service.
Ideal for floors with surface-level scratches and scuffs, this affordable and quick service eliminates minor wear and tear while adding a fresh protective finish.
👉 Perfect for: Maintaining your floors’ shine and protection without the need for full refinishing.
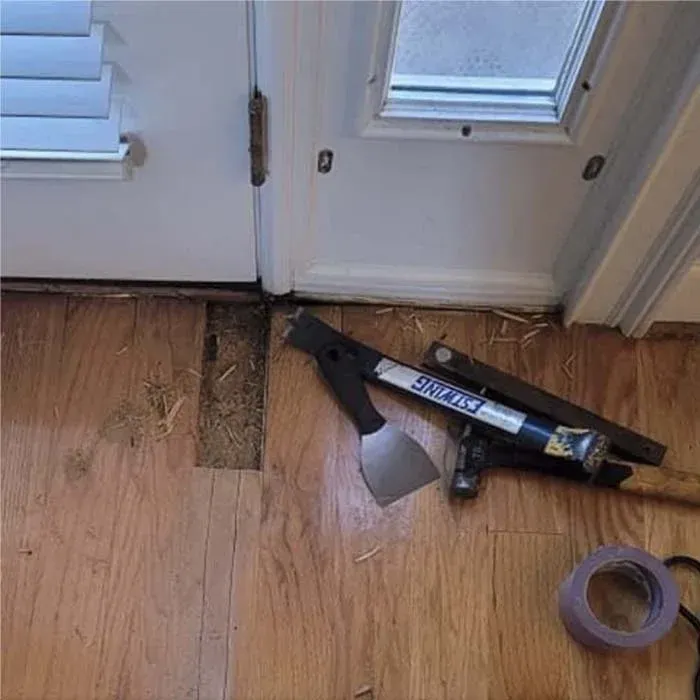
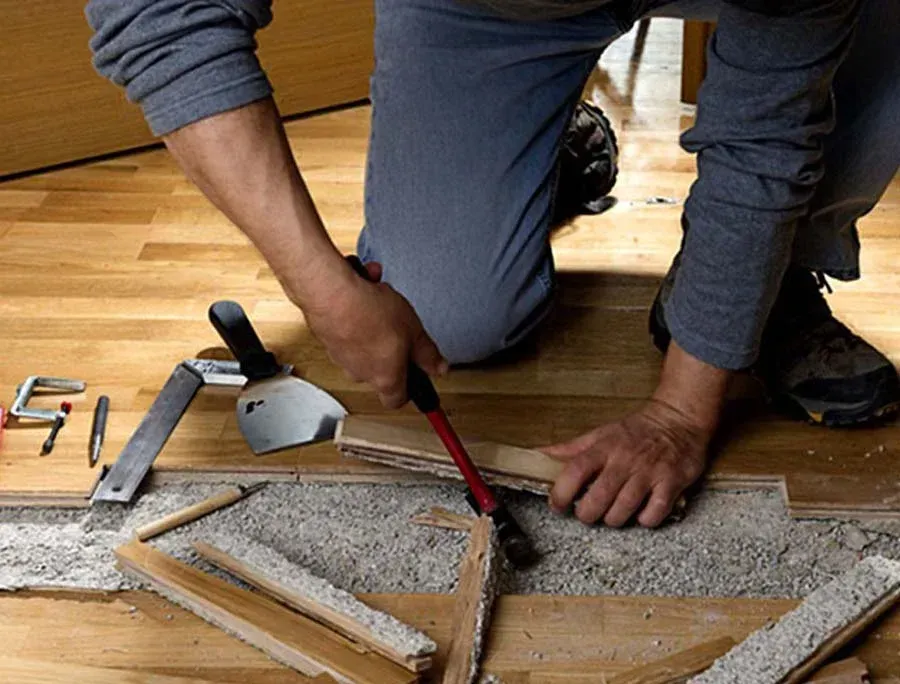
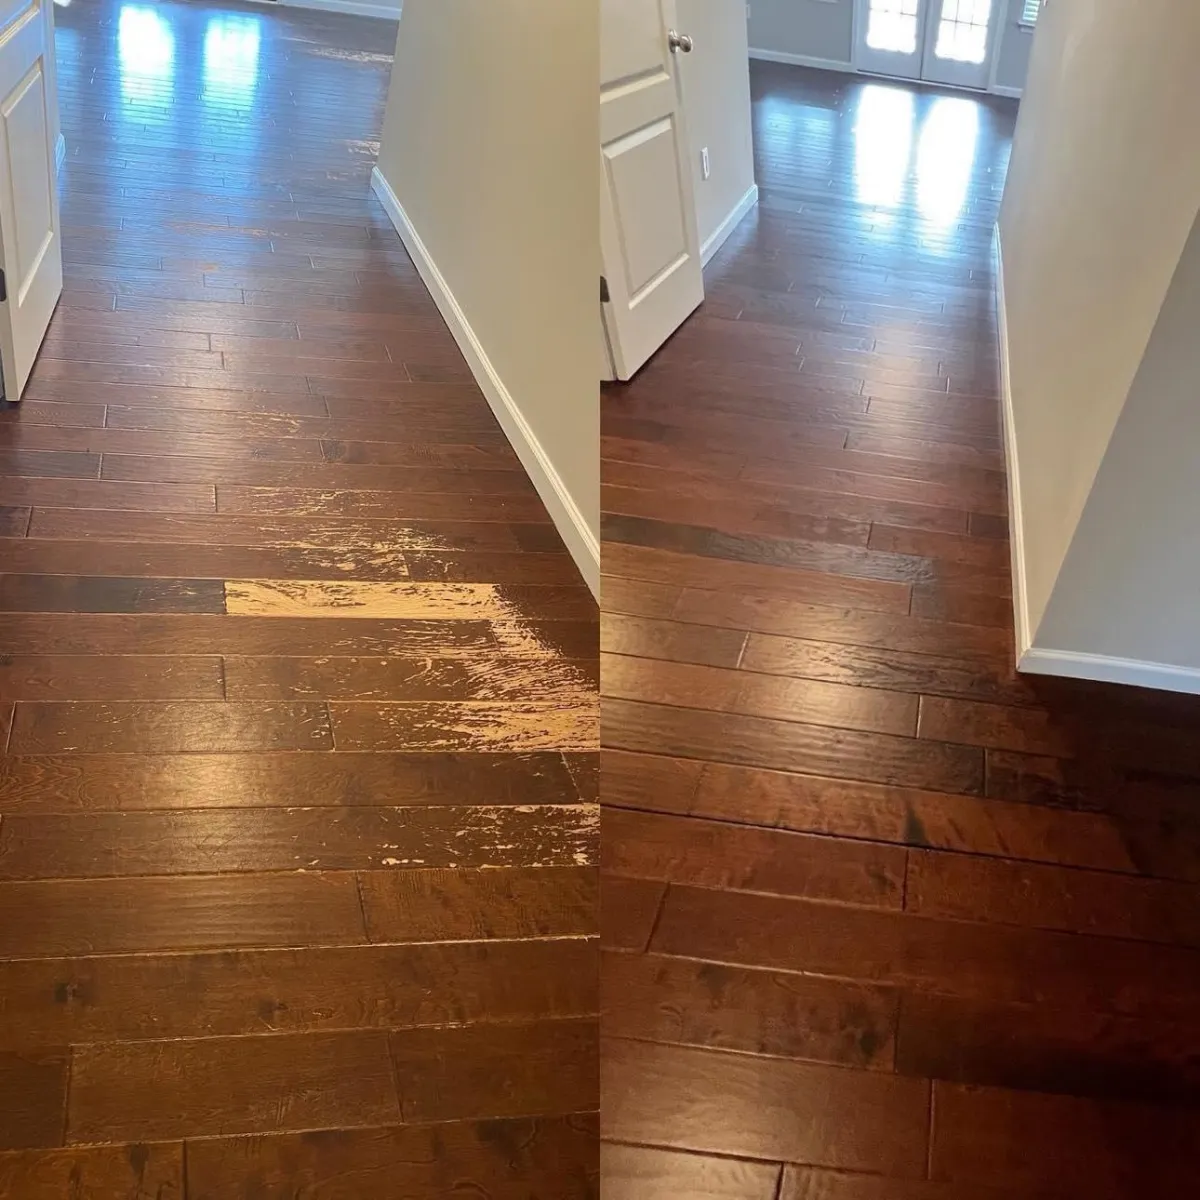
Expert repairs for damaged hardwood floors.
From scratches and gouges to water-damaged sections and loose boards, we restore the integrity and appearance of your floors with precision and care.
👉 Perfect for: Floors showing signs of wear, gaps, or water damage.
Repair and restore water-damaged hardwood floors.
We address buckling, warping, and discoloration caused by water exposure, ensuring your floors look and feel like new.
👉 Perfect for: Homes affected by leaks, floods, or spills.
Schedule Online
Why Choose Pioneer Concepts?
Tailored Solutions for Every Project
We understand that every home is unique. That’s why we work closely with you to customize flooring solutions that match your vision and lifestyle.
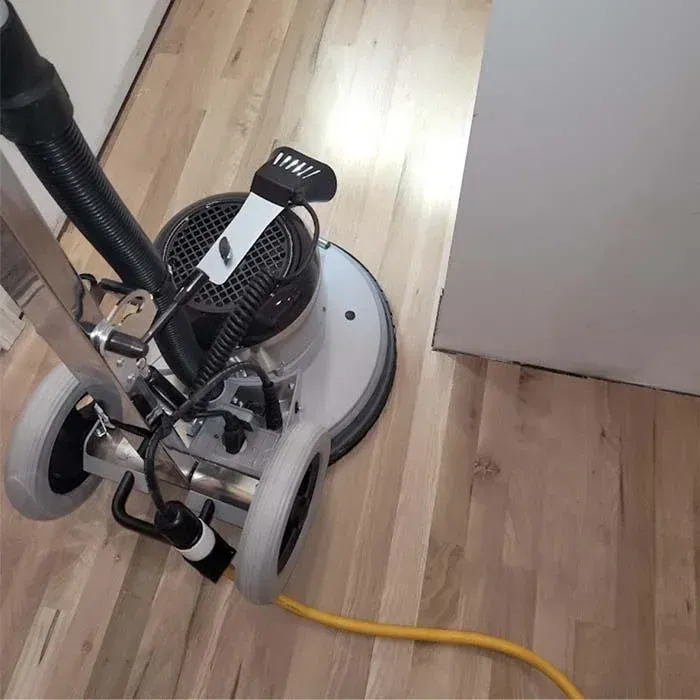
99% Dust-Free Sanding
Our HEPA-certified dust containment system keeps your home clean during refinishing projects.
Exceptional Customer Service
From your initial consultation to the final walkthrough, we ensure a smooth, stress-free process. Our friendly team is always ready to answer your questions and address your concerns
Transparent and Honest Estimates
We provide clear, upfront estimates with no hidden costs, ensuring you know exactly what to expect before the project begins.
Over 15 Years of Experience
Trust our seasoned professionals to handle any flooring project with precision and care.
Local Expertise
We proudly serve homeowners in Greenville, SC, and surrounding areas, including Spartanburg, Anderson, and Pickens.
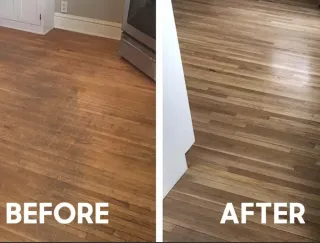
See the Difference We Can Make

What Our Clients Say
Schedule Online
Blog

Hardwood vs LVP Flooring for Greenville Homes
Comparing hardwood vs LVP flooring in Greenville and surrounding areas? Pioneer Concepts LLC guides you to the best solution. Discover your perfect floor—call for a free quote! ...more
Hardwood Flooring Services
July 04, 2025•5 min read

UV Finish vs Polyurethane for Greenville Floors
Debating floor finish in Greenville? Pioneer Concepts LLC compares UV finish vs polyurethane. Call now in Greenville and nearby areas for expert advice! ...more
Hardwood Flooring Services
June 27, 2025•0 min read

The Ultimate Guide to Choosing 3/4 Hardwood Flooring for Your Home
Explore the ultimate guide to 3/4 hardwood flooring, covering types, installation, and maintenance tips. ...more
Hardwood Flooring Services
April 04, 2025•15 min read
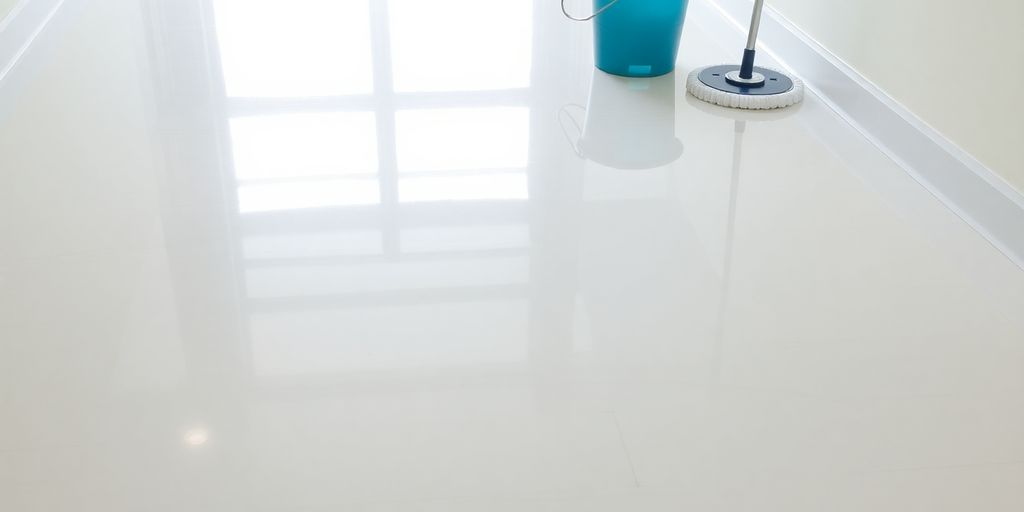
Discover the Best Way to Clean Vinyl Floors for a Sparkling Finish
Learn the best way to clean vinyl floors for a sparkling finish with our expert tips and homemade solutions. ...more
Hardwood Flooring Services
March 19, 2025•0 min read
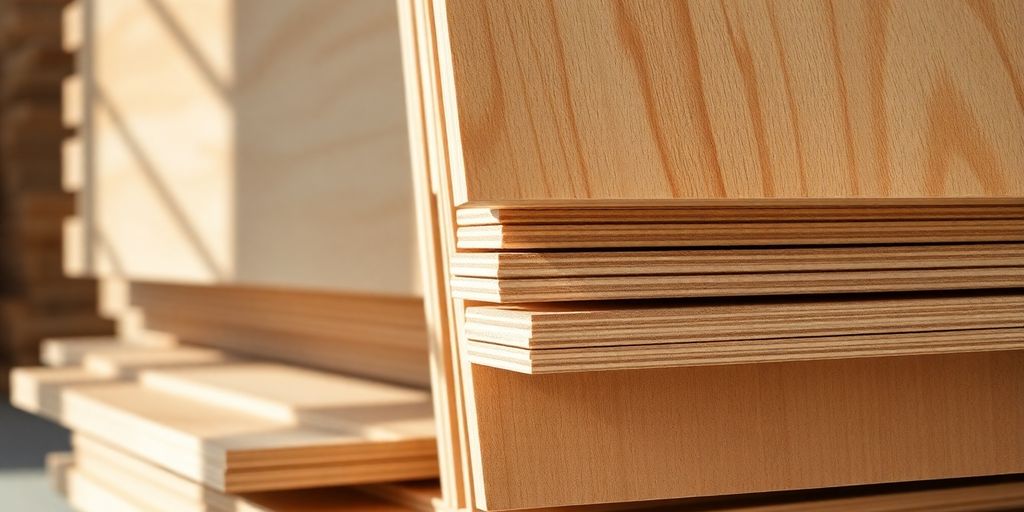
Tips for a Solid Subfloor
Discover how to choose the perfect plywood subfloor for your renovation with our essential guide. ...more
Hardwood Flooring Services
March 11, 2025•15 min read

Hickory Hardwood Flooring
Explore the benefits, durability, and design tips for hickory hardwood flooring in our ultimate guide. ...more
Hardwood Flooring Services
March 11, 2025•13 min read

Innovative Bathroom Flooring Ideas
Explore innovative bathroom flooring ideas that blend style and functionality for every taste. ...more
Hardwood Flooring Services
March 04, 2025•13 min read

Changing Flooring Direction for a Cohesive Look
Learn to master changing direction of flooring between rooms for a seamless, cohesive home design. ...more
Hardwood Flooring Services
March 04, 2025•14 min read

Transform Your Space: The Ultimate Guide to Flooring in Denver
Discover expert tips and trends for flooring in Denver. Transform your space with the perfect flooring choice. ...more
Hardwood Flooring Services
February 25, 2025•0 min read

Best Floor Sander Rentals Near You
Find the best floor sander rental near me with tips on features, services, and expert advice for local options. ...more
Hardwood Flooring Services
February 25, 2025•8 min read

Lowe's Free Install Offer
Learn when Lowe's offers free flooring installation in 2025 and how to qualify for this valuable service. ...more
Hardwood Flooring Services
February 17, 2025•9 min read

How to Lay Floor Tiles: Beginner’s Guide
Learn how to lay floor tiles with this beginner-friendly guide. Step-by-step tips for a professional finish. ...more
Hardwood Flooring Services
February 17, 2025•9 min read

Home Depot Hardwood Flooring Guide
Discover Home Depot hardwood flooring tips for selection, installation, and maintenance in this comprehensive guide. ...more
Hardwood Flooring Services
January 21, 2025•11 min read

The Ultimate Guide to Choosing Waterproof Bathroom Flooring for Your Home
Discover top waterproof bathroom flooring options, installation tips, and maintenance advice for your home. ...more
Hardwood Flooring Services
January 21, 2025•0 min read
Expert Flooring Tips & Trends to Upgrade Your Home
Welcome to the Pioneer Concepts LLC blog, your expert guide to flooring in Greenville, SC. From hardwood installation to LVP options and maintenance tips, we provide valuable advice to help you make t... ...more
Hardwood Flooring Services
January 21, 2025•3 min read
Areas We Serve
We proudly serve the following areas in Upstate South Carolina:
Don’t see your city? Call us at (864) 477-1424 to confirm service availability.
LOCATION
Pioneer Concepts LLC
Greenville, South Carolina 29617
5052 Old Buncombe rd. Suite A. #1111
Main Office: (864) 477-1424
Email: [email protected]
HOURS
Weekdays: 8am – 8pm
Weekends: On Call
EMERGENCY SERVICE AVAILABLE
QUICK LINKS
COPYRIGHT © 2025
ALL RIGHTS RESERVED // PRIVACY POLICY // TERMS AND CONDITIONS